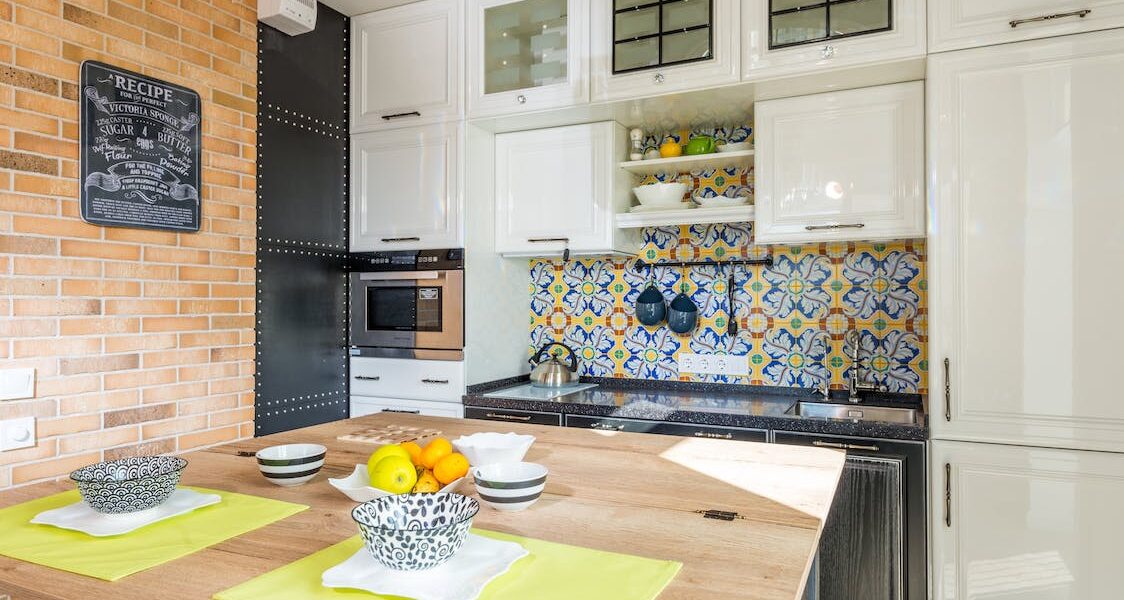
The kitchen serves as the core of your home, and its aesthetics should mirror your unique style and personality. However, if you’re stuck with dated kitchen cabinet doors featuring grooved designs, it can be challenging to achieve the modern and sleek look you desire. The good news is that you don’t need to invest in entirely new cabinets. With a little creativity and some DIY magic, you can cover those grooved designs and transform your kitchen’s appearance. In this comprehensive guide, we’ll walk you through the step-by-step process of how to cover grooved designs on kitchen cabinet doors.
Why Cover Grooved Designs?
Before we dive into the nitty-gritty of this DIY project, let’s explore why covering grooved designs is a great idea:
- Modernize Your Space: Grooved designs might have been in vogue once, but now they can make your kitchen appear outdated. Covering them is a quick way to bring your kitchen into the 21st century.
- Cost-Effective: Replacing kitchen cabinets can be a substantial expense. Covering grooved designs is a budget-friendly alternative that can yield impressive results.
- Personalization: DIY cabinet makeovers allow you to personalize your kitchen’s look. You can choose the color, finish, and style that perfectly matches your taste.
- Creativity: This project is an opportunity to unleash your creativity. You can experiment with different design ideas, such as shaker-style cabinets or sleek flat-panel doors.
- Increased Home Value: A kitchen makeover can significantly enhance your home’s resale value. A modern, well-maintained kitchen is a major selling point for potential buyers.
Now that you’re convinced of the benefits, let’s get started with the step-by-step process.
Step 1: Preparation
Gathering Supplies
- Before starting, make sure you have the following supplies readily available.
- Wood filler
- Sandpaper (various grits)
- Primer
- Paintbrushes
- High-quality paint in your chosen color
- Screwdriver
- New cabinet hardware (optional but recommended for a complete transformation)

Removing Cabinet Doors
- Carefully remove the cabinet doors from their hinges. Lay them flat on a clean, well-ventilated workspace.This will help simplify the entire process.
Cleaning and Sanding
- Thoroughly clean the cabinet doors. Remove any dirt, grease, or residues that may have accumulated over the years. Once clean, sand the grooved designs to create a smooth surface. Start with a coarse grit sandpaper and gradually move to a finer grit for a polished finish. Don’t forget to wear a mask and safety goggles for protection.
Step 2: Covering Grooved Designs
Filling in the Grooves
- Use wood filler to fill in the grooves. Apply it generously and make sure to press it into all the crevices. Allow the wood filler to dry completely. This might require a few hours, so stay patient.
Smoothing the Surface
- Once the wood filler is dry, sand the entire door again. This time, use a fine-grit sandpaper to create a smooth and level surface. This step is crucial to achieving a seamless look.
Priming the Cabinet Doors
- Apply a layer of primer to the cabinet doors. Primer helps the paint adhere better and provides a consistent base for your chosen color. Let the primer dry thoroughly before proceeding to the next step.
Step 3: Painting and Finishing
Choosing the Right Paint
- Choose a paint of excellent quality in the color you prefer.. Consider a satin or semi-gloss finish for durability and easy cleaning. Take your time to choose a color that complements your kitchen’s overall aesthetic.

Applying Paint Evenly
- Apply the paint evenly using a high-quality paintbrush or a paint sprayer for a professional finish. Use smooth, long strokes to avoid visible brush marks. Ensure each coat dries thoroughly before adding the next one. Depending on the paint and color, you may need two or more coats for full coverage.
Adding Final Touches
- Once the paint is dry, it’s time to add the finishing touches. If you want to go the extra mile, consider installing new cabinet hardware. This small change can make a big difference in the overall look of your cabinets. Choose hardware that complements your kitchen’s new style.
Step 4: Reassembling Cabinet Doors
Properly Hanging Cabinet Doors
- Reattach the cabinet doors to their hinges, ensuring they hang straight and level. Take a second look to confirm they open and close effortlessly.
Installing New Hardware
- If you’ve opted for new cabinet hardware, install it securely. Use a measuring tape and level to ensure everything is perfectly aligned.
Final Adjustments and Cleaning
- Make any final adjustments necessary to ensure your cabinet doors are aligned and functioning correctly. Clean your cabinets to remove any dust or debris from the makeover process.
Conclusion
Congratulations! You’ve successfully covered those grooved designs on your kitchen cabinet doors and given your kitchen a fresh, modern look. Stand back and admire your transformed space, and don’t forget to maintain your cabinets for lasting beauty.
With this DIY project, you’ve not only saved money but also added a personal touch to your kitchen’s design. Your revamped kitchen will now be a source of pride and joy, and it may even increase the value of your home. Enjoy your newly transformed kitchen!


